Rolling a joint might seem like a rite of passage in the world of cannabis, yet for many, it’s easier said than done. There’s a real art to crafting a joint that’s even, smooth, and burns just right. Lucky for you, you don’t need to be a trained artist.
Whether you’re a first-timer or just looking to improve your technique, let’s walk through the steps to rolling the perfect joint in an approachable, straightforward way and maybe even a little fun.
The Basics: What You’ll Need
Before we jump into the rolling itself, let’s talk tools. It’s a short list, but getting it right can make all the difference:
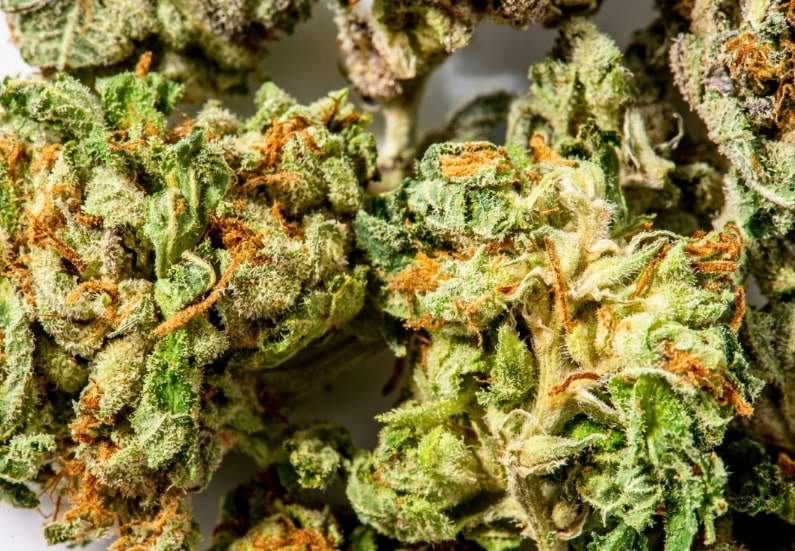
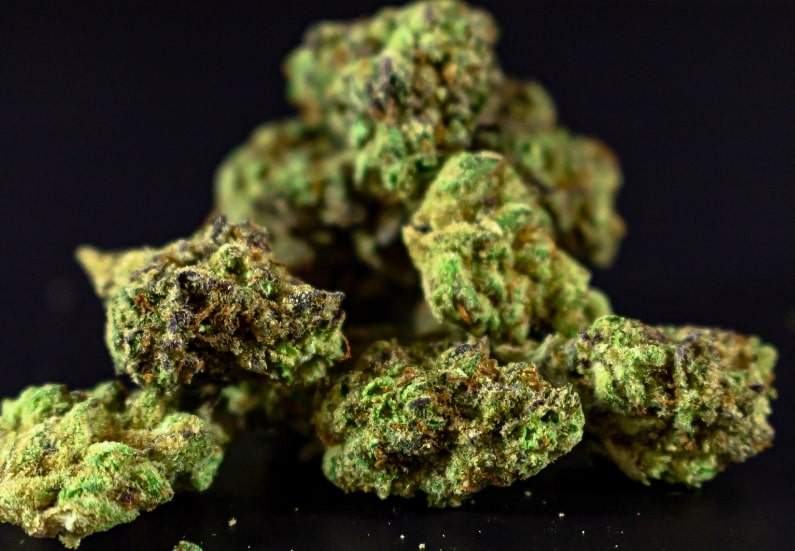
- High-quality cannabis – Ground evenly for a smooth burn.
- Rolling papers – Preferably natural, unbleached papers for better taste.
- Filter or crutch – This optional item keeps things neat and makes your joint easier to hold.
- Grinder – While not essential, it creates a consistent grind and a better burn.
Why Rolling a Joint Is an Art (and Why It Matters)
Rolling a joint isn’t just about getting the cannabis wrapped up—it’s about crafting one of the top 5 ways of smoking weed and enhancing your experience.
A well-rolled joint burns evenly, draws smoothly, and maximizes the flavor and potency of your chosen strain.
Sure, you can throw a few herbs in paper and call it a day, but with some finesse, you can create something truly satisfying way to consume marijauna.
Step 1: Grind Your Cannabis
Grind it fine but not powdery; we’re looking for a texture like loose tea leaves, not dust. A grinder will give you a consistent result, but you can use your fingers or scissors if you’re in a pinch.
Why Grinding Matters
Properly ground cannabis will burn more evenly and give you a smoother hit. Big chunks can create air pockets in the joint, leading to an uneven burn and “runs” (those annoying fast-burning spots on one side).
Step 2: Make or Add a Filter (The “Crutch”)
Adding a crutch or filter isn’t just for aesthetics; it helps your joint keep its shape and makes it easier to smoke. To make a filter:
- Grab a small piece of cardstock or buy a pre-made crutch.
- Fold it in an accordion shape at one end.
- Roll the rest around the folded section to create a small cylinder.
Pop this into one end of your rolling paper. This crutch acts as a mouthpiece, keeps the joint structurally sound, and prevents loose bits from sneaking into your mouth.
Step 3: Fill the Rolling Paper with Ground Cannabis
Lay your paper out, adhesive side up, with the crutch (if you’re using one) on one end. Evenly sprinkle the ground cannabis across the length of the paper, keeping it denser on the side with the filter for better balance. A thin layer will be more manageable for beginners, while seasoned rollers may prefer a fuller joint.
Paper Choices: Which is Right for You?
Rolling papers come in all shapes, sizes, and materials. Classic white papers are just the beginning; hemp, rice, and even clear cellulose options exist. The thinner the paper, the better your joint will burn and taste.
Step 4: Shape the Joint and Start Rolling
Gently pinch the paper between your fingers and start rolling back and forth. This step is about creating a cylinder and evenly distributing the cannabis. It might initially feel awkward, but take your time to get that tubular shape.
Tips for Getting It Right
Rolling too tightly can restrict airflow while rolling too loosely can lead to a flimsy joint. Aim for a balance that’s snug but still allows air to pass through when you take a draw.
Step 5: Tuck, Lick, and Seal
Now comes the commitment: tuck the unglued side of the paper under the cannabis and roll upward until only the adhesive strip is left. Lick it (don’t slobber; just a light lick will do) and press down to seal.
Troubleshooting Tips for the Perfect Seal
If you’re struggling to get it to stick, it could be the paper quality or that you’re a bit shy with the lick. If it’s not sealing, add a little more moisture or press along the adhesive to ensure it’s secured.
Step 6: Pack It Down
Hold the joint vertically, with the open end facing upward. Use a pen or similar object to pack the cannabis down toward the crutch gently. This step helps create an even burn and prevents “canoeing” (when the joint burns unevenly on one side).
Step 7: Twist the Top and Spark Up
Once everything’s packed, twist the open end to seal it up, and voila! You have a neatly rolled joint ready for lighting. The twist also helps prevent any spillage during handling.
Tips for Lighting Your Joint
Lighting a joint might seem easy, but there’s a technique to it. Gently rotate the joint as you light the end, taking small puffs to ignite it evenly. Avoid torching the paper directly; light it gradually for an even start.
Common Mistakes and How to Avoid Them
Rolling Too Loose or Too Tight: This is the most common issue; finding the right balance can take a few tries. Remember, you want the joint snug but breathable.
Overfilling the Paper: Less is more when you’re starting. A thinner joint is easier to control and less prone to mess-ups.
Skipping the Filter: A filter (or crutch) makes a world of difference in the quality and structure of your joint. Don’t skip it if you’re looking for a smoother experience.
How to Roll a Joint Without Rolling Papers
In a pinch? Fear not. You can use alternatives like corn husks, rose petals, or thin paper products. Just be cautious—some substitutes may not be safe to inhale.
Why Rolling Your Own Joint Beats Pre-Rolls
Pre-rolled joints are convenient, but they rarely offer the same level of satisfaction as a joint you’ve crafted yourself. When you roll your own, you have control over the size, the cannabis-to-paper ratio, and the quality of the materials used.
Experiment with Your Technique
As you become more comfortable, you can experiment with different rolling styles. Some people prefer cone-shaped joints, which allow for a thicker end and a slower burn. Others enjoy cross joints or multi-strain rolls.
FAQs
How much cannabis should I use in a joint?
A half gram to a gram is typical for a standard joint, depending on the paper size and your tolerance.
Can I use a dollar bill to roll a joint?
A dollar bill can be a quick rolling aid if you’re struggling with the paper alone. Place the cannabis on the paper, fold the bill around it, and roll it up.
Why does my joint burn unevenly?
An uneven burn, or “canoeing,” often comes from rolling too loosely or packing unevenly. Packing and grinding your cannabis properly helps prevent this.
What’s the best paper for joints?
Natural hemp or rice papers tend to burn evenly and don’t impact the flavor as much as bleached papers.
Should I use a filter in my joint?
Using a filter or crutch improves the structure, makes it easier to hold, and prevents loose bits from reaching your mouth.
What’s the best way to store joints?
To maintain freshness, store them in an airtight container away from light and humidity.
Wrapping Up: Mastering the Perfect Joint
Rolling the perfect joint is a skill worth learning, whether you’re a casual smoker or a cannabis enthusiast. Like any skill, it takes a bit of practice, patience, and maybe a few wonky attempts to get it right. But trust me, once you’re rolling a smooth, even joint with a steady burn, you’ll be the envy of the sesh.
I got to run; it’s almost 4:20!
More Cannabis Education
Top 10 High-Yield Cannabis Strains for Growers That Will Blow Your Mind
Growing cannabis is as much an art as it is a science. Every grower wants the same thing…
Top 10 Low-Maintenance Cannabis Strains to Grow Indoors
The world of indoor cannabis growing is a place where you can coax leafy green…
How to Set Up a Small Indoor Cannabis Grow Room
There’s something wildly charming—bordering on romantic—about turning a closet or unused…
10 Proven Ways to Cure Cotton Mouth When Smoking Marijuana (And Fix It Fast)
Have you ever taken a puff and suddenly felt like your tongue just walked through the…
LED vs. HPS Grow Lights: What’s Best for Growing Indoor Cannabis?
So, there I was, face-to-face with my cannabis plants, trying to decode their droopy leaves like a…
You May Also Like

Top 10 Low-Maintenance Cannabis Strains to Grow Indoors
The world of indoor cannabis growing is a place where you can coax leafy green…

How to Set Up a Small Indoor Cannabis Grow Room
There’s something wildly charming—bordering on romantic—about turning a closet or unused…

10 Proven Ways to Cure Cotton Mouth When Smoking Marijuana (And Fix It Fast)
Have you ever taken a puff and suddenly felt like your tongue just walked through the…

LED vs. HPS Grow Lights: What’s Best for Growing Indoor Cannabis?
So, there I was, face-to-face with my cannabis plants, trying to decode their droopy leaves like a…

How to Smoke Weed and Meditate: 7 Surprising Steps to a Higher State of Mind
There’s something paradoxically hilarious about trying to sit still and clear your mind while…
Most Recent Posts

Top 10 Low-Maintenance Cannabis Strains to Grow Indoors
The world of indoor cannabis growing is a place where you can coax leafy green…

How to Set Up a Small Indoor Cannabis Grow Room
There’s something wildly charming—bordering on romantic—about turning a closet or unused…

Top 10 Most Popular Hybrid Cannabis Strains (With Effects & Flavor Notes)
If cannabis were a cast of characters in a Broadway play, Indica would be lounging in a velvet…

10 Proven Ways to Cure Cotton Mouth When Smoking Marijuana (And Fix It Fast)
Have you ever taken a puff and suddenly felt like your tongue just walked through the…

LED vs. HPS Grow Lights: What’s Best for Growing Indoor Cannabis?
So, there I was, face-to-face with my cannabis plants, trying to decode their droopy leaves like a…


